 I have had plenty of time this week for various musings and thoughts on the past. These reminiscence is brought forward by the fact that I am currently employed as a full-time couch potato and kitchen fiend. But after watching the last episode of season 7 Scrubs on DVD, finishing my book and feeling that I could not stand to face another dirty bowl/spatula/countertop in the kitchen, I was forced to contemplate the plight of my existence. After losing a job I thought I could do well at, given sufficient time to adjust and rise up to some insurmountable challenges and responsibilities, I could not say that I was devastated. Maybe it was the fact that I have been through 4 jobs in 6 months---of which 2 ended on my terms---or maybe I just did not like that job very much.
Being impartial in your profession of choice is, in some ways, an advantage. Sure, you do not go to work feeling euphoric (then again, I have never experienced that, even when I was working as a pastry chef), but when something goes wrong you learn not to take it too personally. Sure, it is demeaning being told that you do not have the experience necessary for this particular line of work, but the grieving is over quickly, and you are able to look at the whole experience less as a dent in your uncertain future, and react to it with a defiant 'well, at least I had the balls to try it out!'

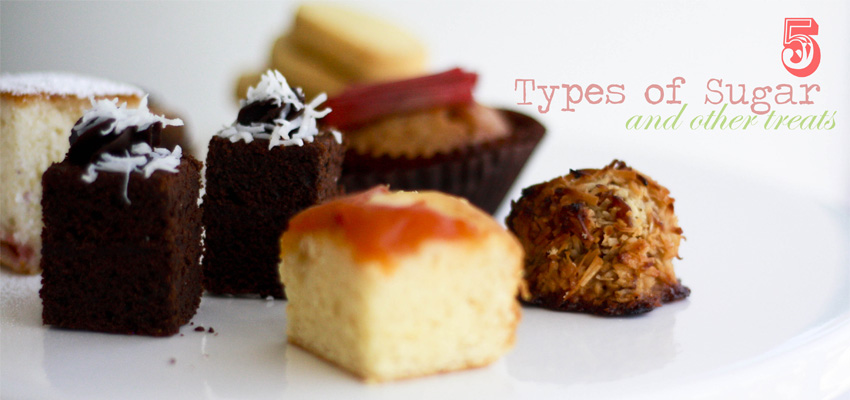
Now that my internet connection is back up and I can finally upload my photos for the January DB Challenge, I am back with the intention to blog and whine. This month's challenge is brought to us by Karen of Bake My Day and Zorra of 1x umruehren bitte aka Kochtopf. They have chosen Tuiles from The Chocolate Book by Angélique Schmeink and Nougatine and Chocolate Tuiles from Michel Roux.
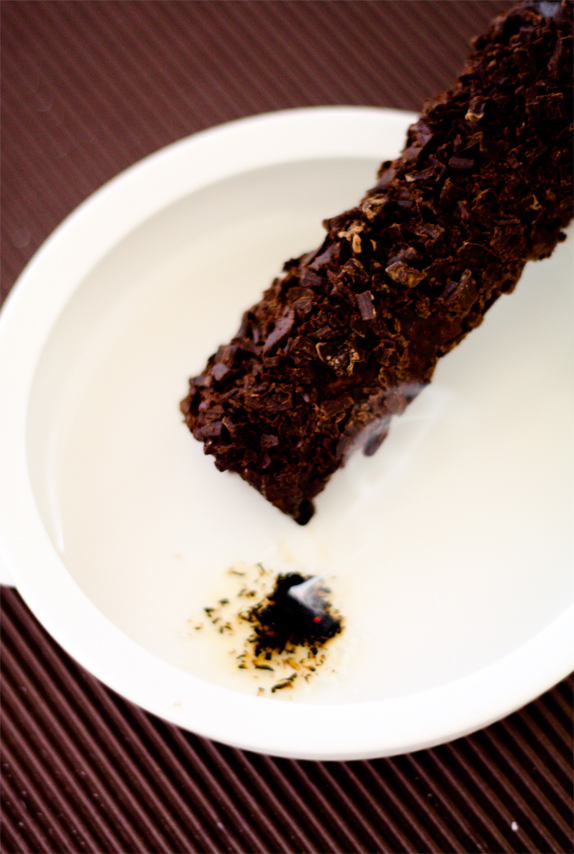
I had the initial idea for this project long before I made it, so I have only made the basic chocolate tuile recipe by Angelique Schemeink. As the visual clues would have leaked my little secret out to you, here it is in words: Chocolate-Encrusted Tuile with Smoked Chocolate Ganache.
Yes, I tried smoking chocolate---with more or less satisfying results, if I may be so bold as to add. Less because I could not yet control the temperature of my 'smoking chamber' (read: a bowl perched atop a bamboo steamer set above an aluminum container of smoking materials confined in the safety of my trusty wok) and scorched my chocolate a tiny bit as a result; and more because it tasted really good, and when the intention is to make it into a ganache, the temperatures hardly matters anymore (or so I'd like to think).
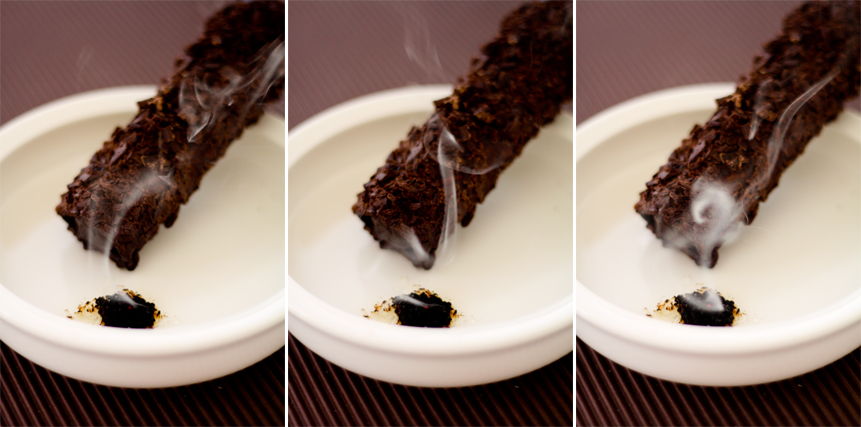
So what better than to pipe the ganache into cigar-shaped tuiles? Better yet, to coat the tuiles in a layer of melted chocolate, then cover it with shaved chocolate chunks for a textural contrast? Or, even better still, set it up to look like a half-smoked cigar? And so my plans all fall into place, and with the same note of optimism, I hope that my life will too.
Chocolate-Encrusted Tuile
65 grams softened butter
60 grams confectioner’s/icing sugar, sifted
2 large egg whites (slightly whisked with a fork)
65 grams all purpose flour, sifted
1 table spoon cocoa powder
300g Chocolate, half melted and half shaved with a vegetable peeler.
Using a hand whisk or a stand mixer fitted with the paddle (low speed) and cream butter, sugar and vanilla to a paste. Keep stirring while you gradually add the egg whites. Continue to add the flour in small batches and stir to achieve a homogeneous and smooth batter/paste. Be careful to not overmix.
Cover the bowl with plastic wrap and chill in the fridge for at least 30 minutes to firm up. (This batter will keep in the fridge for up to a week, take it out 30 minutes before you plan to use it).
Line a baking sheet with parchment paper or grease with either butter/spray and chill in the fridge for at least 15 minutes. This will help spread the batter more easily if using a stencil/cardboard template such as the butterfly. Press the stencil on the bakingsheet and use an off sided spatula to spread batter. Bake at 180 degree Celsius for about 4 minutes.
Immediately release from bakingsheet and proceed to shape/bend the cookies in the desired shape. These cookies have to be shaped when still warm, you might want to bake a small amount at a time or them in the oven to warm them up again. Or: place a bakingsheet toward the front of the warm oven, leaving the door half open. The warmth will keep the cookies malleable. Leave to cool, and dip in some melted chocolate, then roll in shaved chocolate chunks. Set aside.

Smoked Chocolate Ganache
150 ml thick cream (35% fat)
105 g dark chocolate
Create a shallow container using an aluminum foil. Place ingredients for smoking in the container (I used dessicated coconut and Lapsang Souchong tea). Place the smoking materials in a deep wok and heat up for about 5 minutes or until smoking. In the meantime, prepare a bamboo steamer and a stainless steel bowl of chocolate pieces. When ready, turn off heat and place bamboo steamer on top of the smoking materials, and set the bowl of chocolate on top. Cover with lid and smoke for 15-20 minutes. Note: As I mentioned earlier in this post, the chocolate will burn a little due to the high heat in the smoking chamber, and I am still working on a better way to do this.
Spread the chocolate onto a sheet of parchment paper to cool. If you are using couverture chocolate, blooms will become very apparent after the chocolate solidifies. Your chocolate may also cools down softer and not hold the 'snap' that characterises a perfectly tempered chocolate. For this purpose only, this is acceptable.
Boil cream in a saucepan. Place smoked chocolate in a bowl, and pour boiling cream to melt the chocolate. Stand for 1-2 minutes, then stir to create a homogenous mixture. Leave to cool at room temperature, stirring occasionally to ensure even cooling. When consistency is firm enough to pipe, transfer into a piping bag fitten with a plain nozzle, and pipe into chocolate-encrusted tuile cigars. With a hot but dry spatula, smooth off the ends to create a better finish.